|
Price:
on request
Product information updated 05 February 2026.
Found cheaper?
Let us know. Our price is the best.
Warranty:
12 months.
Warranty extension up to 5 years.
Terms of delivery:
To all regions of the country, international delivery.
Product information updated 05 February 2026.
Found cheaper?
Let us know. Our price is the best.
Warranty:
12 months.
Warranty extension up to 5 years.
Terms of delivery:
To all regions of the country, international delivery.
Technical characteristics
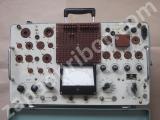
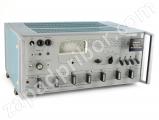
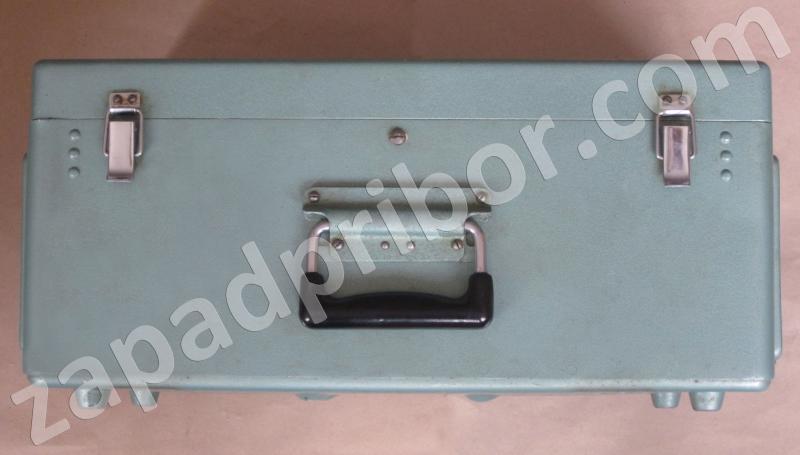
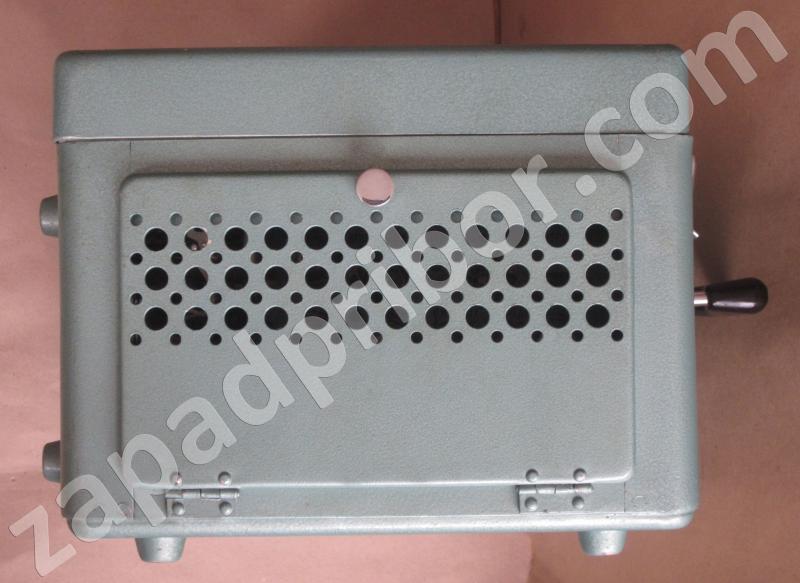
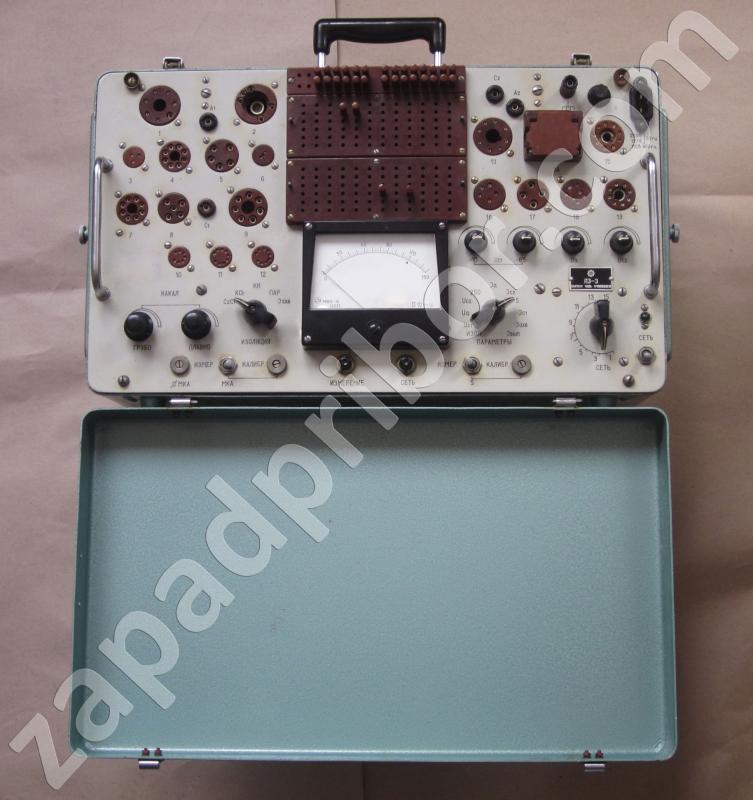
Measuring the parameters of electron tubes L3-3 (L33, L3 3)
Desined to measure the main electrical parameters of vacuum tubes, as well as to remove the static characteristics.
Supplies to the electrodes of the test tubes following voltages:
on the heat - from 1 to 14 V at 1.2 A;
on the first mesh - 0 -0.5 to 65, and the fixed voltage -100 V;
the grid 2 - from 10 to 300 V at 15 mA;
the anode - from 5 to 300 V at 100 mA;
AC voltage rectifier tubes for the test - 2h350, 2x400, 2x500 In
Measuring the parameters of electron tubes L3-3 designed to measure the main electrical parameters of vacuum tubes, as well as to remove the static characteristics.
Measuring the parameters of electron tubes L3-3 allows measurement of low-power (with power dissipation up to 25W at the anode) of vacuum tubes in the modes or modes of specifications or state standard.
Measuring the parameters of electron tubes L3-3 can be used na warehouses and bases consumer electronic tubes, repair workshops, laboratories, as well as companies that develop and produce electronic equipment.
Measuring the parameters of electron tubes L3-3 can be used in climatic conditions: ambient temperature from -10 to +40 ° C, relative humidity of (65 ± 15%) and atmospheric pressure (750 ± 30) mm Hg. Art.
Note. If the equipment is brought into a room with an ambient temperature above 0 ° C from the street or from another room, where the air temperature is below 0 ° C, the meter before use is necessary to keep in the room for at least 2 days.
Measuring the parameters of electron tubes L3-3 is resistant to vibration during transport including 80-120 beats per minute and acceleration of 30 m / s 2, and the vibration frequency of 30 Hz and an amplitude of 0.4 mm.
Meals meter is powered by the AC voltage (127 ± 12,7) V (220 ± 22) V (50 ± ± 0,5) Hz or AC voltage (115 ± ± 5,75) and frequency ( 400 ± 12) V
Technical data
Measuring the parameters of electron tubes L3-3 has a notional scale with 75 divisions, which corresponds to the following (standard value:
when measuring the anode voltage Ua and voltage stabilization U stub. (Potential ignition Uzg) Zener - 15V, 75V, 150V, 300V;
when measuring a second voltage grid Ug 2 - 75V, 150V, 300V, Voltage measurement grid of the first Ug 1 - 1.5 V, 3.0 V, 7.5 V, 15.0 V, 30.0 V, 75.0 V;
when measuring the filament voltage Uh, Uf - 3,0 V, 7.5 V, 15.0 V when measuring the anode current Ia and the emission current Ie diode - 1.5 mA;
3.0 mA, 7.5 mA 15.0 mA 30.0 mA 75.0 mA 150.0 mA;
when measuring the grid current Ig second 2 - 0.75 mA, 1.50 mA, 3.00 mA, 7.50 mA, 15 mA;
when measuring the rectified current I sn - 150mA; 300mA; when measuring supply voltage circuit (250V) - 300V.
reverse current measurement I g first grid 1 and the anode current I characteristic at the beginning of a0 - 0.75 mA, 3.00 mA; 15.00 uA; 30.00 uA; uA 150.00;
when measuring the leakage current between the electrodes Ileak -150 uA;
when measuring the slope of the anode-grid characteristic S (slope) - 0.75 mA / V, 1.50 mA / V, 3.00 mA / V, 7.50 mA / V, 15.00 mA / V, 30.00 mA / V 75, 00mA / V.
Limit of acceptable basic error of measurement:
Device control mode voltage: heater, anode, grid, and the second, netting the first power supply voltage circuit and device control emission current diode anode current, grid current second, and the rectified voltage rectifier tubes must be inspected no more than ± 1,5% from scale value of each scale;
Device control reverse current grid of the first, at the beginning of the anode current characteristics and leakage current between the electrodes - no more than ± 2,5% of full scale of each scale;
slope control devices - no more than ± 2,5% of full scale of each scale.
Note. The basic error of measurement is checked under normal conditions.
Normal conditions are the following: the ambient temperature (20 ± 5) ° C, relative humidity of (65 ± 15)%, atmospheric pressure (750 ± 30) mm. Hg. Art.
Limit of acceptable additional error of measurement:
Devices kontp Olya constant voltage mode, the anode current control devices, emission current grid current and the second rectified current rectifier tubes in the temperature of the ambient air (-10 to +40 ° C at a relative humidity of (65 ± 15)% should be no more than ± 1,2% of full scale for every 10 ° C change in temperature.
The limit of acceptable measurement error additional control devices (reverse current steepness first grid, the anode current at the beginning of the characteristics and leakage current between the electrodes within the ambient temperature from -10 ° C to +40 ° C at a relative humidity of (65 ± 15)% should be no more than ± 2% of full scale per 10 ° Sizmeneniya temperature.
The AC power circuits izmeritelyaparametrov electronic tubes L3-3 (secondary voltage) via a switch NETWORK (held constant, which corresponds to position the arrow on the meter gauge of the scale with an accuracy of ± 1 division by holding down the network. At rated voltage mains switch must NETWORK be in position 7.
Measuring the parameters of electron tubes L3-3 supplies the electrodes (audited lamps following voltages:
on the heat:
permanent - from 1V to 14V at load current up to 1.2 A; variables - 2.5 V, 3.0 V, 4.5 V, 5.5 V, 7.0 V at load current up to 3A;
10V, 13V load current up to 1.7 A, 15V, 25V load current up to 1.3 A;
first on the grid:
permanent - from minus 0.5 to minus minus 65V and 100V, the second on the grid:
permanent - from 10V to 300V with a load current up to 15 mA;
the anode:
permanent - from 5V to 25V at load current up to 50 mA;
from 25V to 300V with a load current up to 100 mA;
variables - 2 to 350V, 400V for 2, 2 for 500V.
To ensure self-bias on verifiable lamp in the meter has the following values of the cathode resistors 30, 50, 68, 75, 80, 100, 120, 150, 160, 200, 220, 400, 500, 600, 600 ohms.
Measuring the parameters of electron tubes L3-3 provides a measurement of electron tubes in accordance with the attached list the following:
for diodes - emission current or anode current;
in transistors, double triode, tetrode, penthodes and combined lamps - current anode current of the second grid, the reverse current of the first grid, the slope of the anode-grid characteristics, slope characteristics of the heterodyne frequency converter tubes, the anode current characteristics at the beginning or the blocking voltage grid of the first ;
with Zener - potential ignition voltage stabilization, stabilization of voltage changes when you change the value of the load current;
in rectifier tubes - rectified current.
In addition, measuring the parameters of electron tubes L3-3 can be measured in heated-lights: the leakage current between the electrodes at voltages of 100V and 250V (when checking the leakage current between the cathode and heater-plus on the cathode minus the heater on).
The meter allows you to remove the static characteristics of the lamps. The maximum power consumption meter at nominal line voltage does not exceed 300VA checking of all types of lamps, except the lamp 5TS3S when checking lamp 5TS3S - 450VA.
Measuring the parameters of electron tubes L3-3 is designed for continuous 8 hours each, not including the time samoprogreva when testing different types of lamps with an anode current of up to 100mA. Allowed. 2-Hour Meter for continuous testing of lamps of the same type with an anode current of 100 mA to 150 mA. Samoprogreva time is 30 minutes. A break to re-enable - not less than 1 hour
Measuring the parameters of electron tubes L3-3 maintains its electrical parameters after changing the entire set of vacuum tubes with the appropriate regulators readjustment. The MTBF - not less than 3000 hours average life - at least 10 years of age. Average recovery time - no more than 60 minutes. Overall dimensions of no more than 515h320h230mm. Weight 20 kg.
Leading online store Zapadpribor - a huge selection of measuring equipment for the best value and quality. So you can buy inexpensive devices, we monitor competitors' prices and are always ready to offer a lower price. We only sell quality products at the best prices. On our site you can buy cheaply as the latest innovations and proven equipment from the best manufacturers.
The site includes a special offer «buy at the best price» - if other Internet resources (bulletin board, forum or announcement of another online service) in products presented on our site, the lower price, we will sell it to you even cheaper! Buyers also additional discount for leaving a review or photo of use of our products.
In the price list contains not the whole range of products offered. Prices of goods, not included in the price list can learn to contact the manager. Also, our managers You can get detailed information about how cheap and profitable to buy instrumentation wholesale and retail. Telephone and e-mail for advice on the purchase , delivery or receipt are shown on the description of the goods. We have the most qualified staff, quality equipment and the best price.
Online store Zapadpribor - the official manufacturer's dealer test equipment. Our goal - selling high quality goods with best price offer and service to our customers. Our store can not only sell you the necessary instrument, but also offer additional services to its calibration, repair and installation. That you have a pleasant experience when shopping on our site, we have provided special gifts guaranteed to the most popular products.
We offer fast international shipping to almost every country in the world: Australia, Austria, Azerbaijan, Albania, Algeria, Anguilla, Angola, Antigua and Barbuda, Argentina, Aruba, Bahamas, Bangladesh, Barbados, Bahrain, Belize, Belgium, Benin, Bermuda, Bulgaria, Bolivia, Bonaire, Sint-E. and Saba, Bosnia and Herzegovina, Botswana, Brazil, British Virgin Islands, Brunei Darussalam, Burkina Faso, Burundi, Bhutan, VietNam, Vanuatu, Vatican City, Venezuela, Armenia, Gabon, Guyana, Haiti, Gamia, Gambia, Ghana, Guatemala, Guinea, Gibraltar, Honduras, Hong Kong, Grenada, Greenland, Greece, Georgia, Denmark, Democratic Republic of the Congo, Jersey, Djibouti, Dominica, Dominican Republic, Ecuador, Eswatine, Estonia, Ethiopia, Egypt, Zambia, Zimbabwe, Jordan Indonesia, Ireland, Iceland, Spain, Italy, Cape Verde, Kazakhstan, Cayman Islands, Cambodia, Cameroon, Canada, Qatar, Kenya, Kyrgyzstan, China, Cyprus, Kiribati, Colombia, Comoros, Congo, Korea (Rep.), Costa Rica, Kot-d'Ivoire, Cuba, Kuwait, Curacao, Laos, Latvia, Lesotho, Lithuania, Liberia, Lebanon, Libya, Liechtenstein, Luxembourg, Myanmar, Mauritius, Mauritania, Madagascar, Macao, Malawi, Malaysia, Mali, Maldives, Malta, Morocco, Mexico, Mozambique, Moldova, Monaco, Monaco, Namibia, Nauru, Nepal, Niger, Nigeria, Netherlands, Germany, New Zealand, New Caledonia, Norway, UAE, Oman, Cook Islands, Pakistan, Palestine, Panama, Papua New Guinea, Paraguay, Peru, South Africa, Poland, Portugal, Republic of Chad, Rwanda, Romania, El Salvador, Samoa, San Marino, Saudi Arabia, Swaziland, Seychelles, Senegal, Saint Vincent and the Grenadines, Saint Kitts and Nevis, Saint Lucia, Serbia, Singapore, Sint Maarten, Slovakia, Slovenia, Solomon Islands, United Kingdom of Great Britain and Northern Ireland, Sudan, Suriname, East Timor (Timor-Leste), USA, Sierra Leone, Tajikistan, Taiwan, Thailand, Tanzania (United Republic of), Togo, Tonga, Trinidad and Tobago, Tuvalu, Tunisia, Turkey, Turkmenistan, Uganda, Hungary, Uzbekistan, Uruguay, Faroe Islands, Fiji, Philippines, Finland, France, French Polynesia, Croatia, Central African Republic, Czech Republic, Chile, Montenegro, Switzerland, Sweden, Sri Lanka, Jamaica, Japan.
We also provide such metrological procedure: calibration, tare, graduated, testing of measuring instruments.
The online store takes an active part in such procedures as electronic bidding, tender, auction.
If there is no site in the descriptive information you need on the device you can always turn to us for help. Our qualified managers will update for you on the technical characteristics of the device from its technical documentation: user manual, certificate, form, operating instructions, diagram. If necessary, we will take a photo of your device, or a device stand. You can leave feedback on the unit purchased from us, the meter, the device, indicator, or product. Your review for your approval will be published on the site without contact information.
Description of the instruments taken from the technical documentation or technical literature. Most pictures of products made directly by our experts prior to shipment of goods. In the description of the device provided the main technical characteristics of the instrument: nominal measuring range, accuracy class, scale, supply voltage, size (size), weight. If the site you see the discrepancy device name (model) specifications, photo or documents attached - let us know - you will get a useful gift with-selling device.
While the need to clarify the overall weight and size or the size of the individual meter you can in our service center. If you need our engineers will help you choose the most complete analog or a suitable replacement for the device you are interested. All counterparts and replacement will be tested in one of our laboratories with the full compliance to your requirements.
In the technical documentation for each device or product, information is provided on the list and amount of precious metals content. The documentation gives the exact weight in grams of precious metals: Au gold, palladium Pd, platinum Pt, silver Ag, tantalum Ta and other platinum group metals (PGM) per unit item. These precious metals are found in nature in very limited quantities and therefore have such a high price.
On our website you can familiarize yourself with the technical characteristics of devices and obtain information on the content of precious metals in devices and radio components manufactured in the USSR. We draw your attention to the fact that often the actual content of precious metals differs by 10-25% from the reference one in a smaller direction! The price of precious metals will depend on their value and mass in grams.
All text and graphic information on the site is informative. The color, shade, material, geometric dimensions, weight, content, delivery set and other parameters of the goods presented on the site may vary depending on the batch of production and year of manufacture. Check with the sales department for more information.
If you can make repairs to the device yourself, our engineers can provide you with a complete set of necessary technical documentation: circuit diagram TO, ER, FD, PS. We also have an extensive database of technical and metrological documents: technical specifications (TS), the terms of reference (TOR), GOST (DSTU), the industry standard (OST) test procedure, the method of certification, verification scheme for more than 3,500 types of measuring equipment from the manufacturer this equipment. From the site you can download all the necessary software (the software driver) is required for the product purchased.
We carries out repairs and maintenance of measuring equipment in more than 75 different factories of the former Soviet Union and CIS.
We also have a library of legal documents that are related to our field of activity: the law, code, ordinance, decree, temporary position.
